Hellllllo there sunshine and happy Wednesday to you! I’m coming at ya on a sugar hang over today because we just celebrated my daughter’s birthday on Monday and my birthday yesterday. It’s been a fun few days around here with lots and lots of cake! We had the best time celebrating and I really enjoyed taking a few days off to spend time with my family. It was just what I needed! Anyway, I’m back at it today and I wanted to share a super easy and fast “stay awhile” sign I made to to hang above our reading nook. It literally only took about five minutes to do, so I’m not even going to call this a DIY because it’s just too dang easy. But I love how it turned out, so I figured why not share it?! Okie dokie, here’s what I did:

So first I bought this simple raw wood sign from Hobby Lobby. I got it on sale, so I think it was maybe six bucks. Super cheap, but perfect for this project.
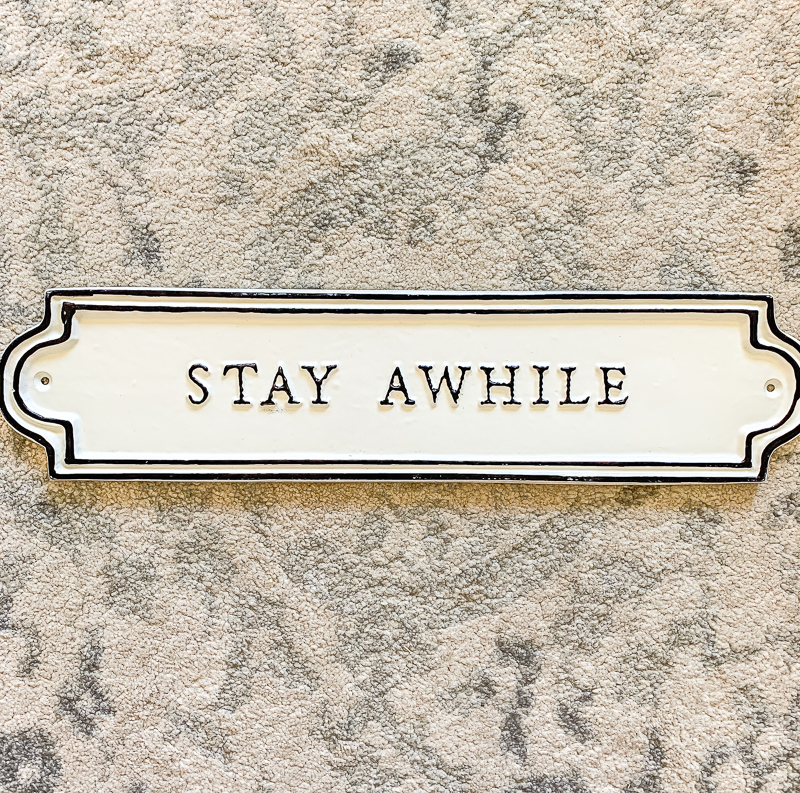
Then I picked up this adorable “stay awhile” sign I’ve been eyeing from Target. This is from the Hearth and Hand line and I LOVE it. I think it’s so cute and perfect for our reading nook.


Next all I did was screw two small holes in the wood sign. You have to be really careful with this thin, manufactured wood, so I pre-drilled the holes. Then I simply screwed the sign right in the middle and that was it. Voila! Here how it looks:


So dang cute, right?! I haven’t had anything above this reading nook for a while now, so I’ve been itching to find something to hang in that empty spot. This stay awhile sign was perfect, but it was a bit too small. Adding the wood helped make it bigger and really gave it more pizzazz too. Plus it matches the wood tones of those botanical frames. And the rattan pendant!


All of the pillows in the nook are from With Lavender and Grace. I love her pillows so much and have for years now–the quality is amazing. I just got those black ticking stripe pillows and I LOVE them. (Use sarahjoy15 to save 15% off your order!)

If you’ve been around for a while you know that easy and fast DIY projects are my JAM. I love doing simple things like this and even though I don’t really think this qualifies as a true DIY, I still love it. It fills in that empty spot above the nook perfectly and it all kind of ties together now too, huh?! Anyway, this little trick works well if you have a sign that is too small for the space you want to put it. Just add a wood pallet to make it bigger. Easy peasy!
Shop the Post:

More simple DIY projects you might like to check out:

What a fun DIY!!!
I love your home.
xoxo,
KaramabyHoda
thank you so much!
Love the sign Sarah, it’s perfect for that spot! Can we talk about that stool? A little obsessed with that!!!
thank you Sherri! That little stool is from Hobby Lobby actually!
Dear Sarah,
Happy birthday to you and your girl.
The new sign is a sweet addition to your nook.
Blessings and appreciation for you.
Deborah